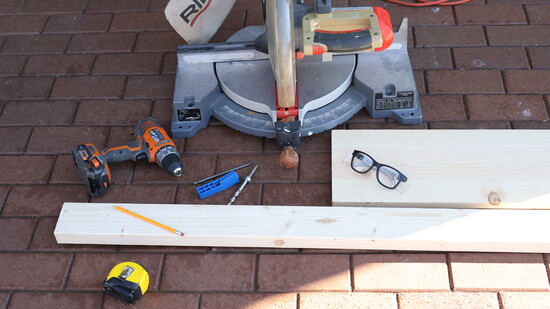
It's time to be dreaming about warmer temps and soon to be summer nights. Moving into this season if you want more chairs to set out in the garden or patio try this at home DIY project. These Adirondack Chairs are an easy project, and with just a few tools and wood from Home Depot, this is a project you can do in just a few hours. There are only a handful of things you will need to complete this project: a miter saw, drill and a kreg jig which you can rent at a local Home Depot, or Ace hardware store as well as a few things you most likely have in your home workshop, which includes a tape measure and safety glasses.
Cut list
5 – 2x4 @ 19 1/2 inches long
2 – 2x4 @31 ¾ inches long
2 – 2x4 @ 33 ¼ inches long – on these ends cut at 20 degrees off square as seen in photo 2 -2x4 @ 32 ¾ inches
2 – 1x10 @ 22 ½ inches for the seat
3 – 1x10 @ 19 ½ inches for the back
Supplies
3 – 2x4 that are 104 5/8 inches long
1 – 1x10 that is 10 feet long
4 – 2 1/2 inches long Kreg Pocket hole screws
24 – 2 1/2 inches long self-tapping exterior screws
30 –1 ½ inches long self-tapping exterior screws
safety glasses
miter saw
drill
Kreg Jig
tape measure
pencil
sander
Directions:
step 1 : Cut the chair stringers at a 90-degree angle at the foot. Attach the 31 3/4 arms with 2 1/2 inch screws to one of the 19 1/2 inch 2x4 boards. Build the arms the same way.
Step 2: Drill pocket holes on both ends of two of the 19 1/2 inch 2x4s. Attach the 2 1/2 inch screws to the frame of the chair.
Step 3: Lay the seat boards that are 22 1/2 inches to the frame of the chair with 1 1/2 inch screws. Screw three per side and leave 1/4 inch gap in between for water drainage.
Step 4: Place one of the 19 1/2 inch boards behind the chair back for support and attach the 32 3/4 boards flush to the bottom of the stringer and attach through the legs of the chair with 2 /12 inch screws. Repeat with the other side then remove the support board.
Step 5: Attach a 19 1/2 inch 2x4 to base of the chair in the back with 2 1/2 inch screws and then attach the seat back 19 1/2 inch 1x10s to the chair back using 1 1/2 inch screws and leaving a gap for drainage. Sand and stain with a good exterior stain.
When complete, just sand and finish with an appropriate exterior finish or paint.
For more in depth step-by-step plans, visit me on Instagram at @uncommon.jane and message me for plans.