Building Adirondack chairs for your outdoor space is a rewarding DIY project that combines functionality with timeless style. These iconic chairs, known for their wide armrests and slightly slanted backs, are surprisingly simple to build, even for those with minimal woodworking and construction experience. With a few basic tools and supplies, a bit of patience and the ability to follow simple directions, you can craft a comfortable, practical, charming chair to enjoy for years to come.
Cut list
5 – 2x4 @ 19 ½ inches long
2 – 2x4 @ 31 ¾ inches long
2 – 2x4 @ 33 ¼ inches long – on these ends cut at 20 degrees off square (as seen in the photo for Step 1)
2 – 2x4 @ 32 ¾ inches
2 – 1x10 @ 22 ½ inches for the seat
3 – 1x10 @ 19 ½ inches for the back
Supplies
3 – 2x4 that are 104 ⅝ inches long
1 – 1x10 that is 10 feet long
4 – 2 ½ inches long Kreg Pocket hole screws
24 – 2 ½ inches long self-tapping exterior screws
30 – 1 ½ inches long self-tapping exterior screws
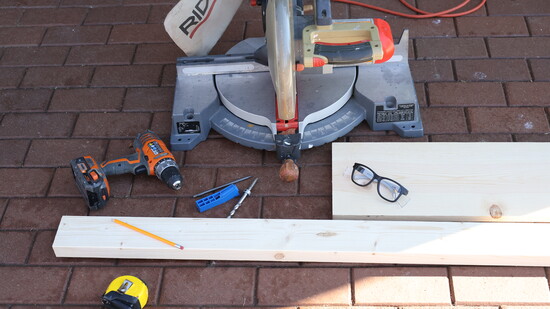
Safety glasses
Miter saw
Drill
Kreg Jig
Tape measure
Pencil
Sander
Directions:
Step 1: Cut the chair stringers at a 90-degree angle at the foot. Attach the 31 ¾ arms with 2 ½ inch screws to one of the 19 ½ inch 2x4 boards. Build the arms the same way.
Step 2: Drill pocket holes on both ends of two of the 19 ½ inch 2x4s. Attach with the 2 ½ inch screws to the frame of chair.
Step 3: Lay the seat boards that are 22 ½ inches to the frame of chair with 1 ½ inch screws. Screw three per side and leave ¼ inch gap in between for water drainage.
Step 4: Place one of the 19 ½ inch boards behind the chair back for support and attach the 32 ¾ boards flush to the bottom of the stringer and attach through the legs of chair with 2 ½ inch screws. Repeat with the other side then remove the support board.
Step 5: Attach a 19 ½ inch 2x4 to base of chair in the back with 2 ½ inch screws and then attach the seat back 19 ½ inch 1x10s to the chair back using 1 ½ inch screws and leaving a gap for drainage.
Step 6: When complete, sand and finish with an appropriate exterior finish or paint.
@uncommon.jane