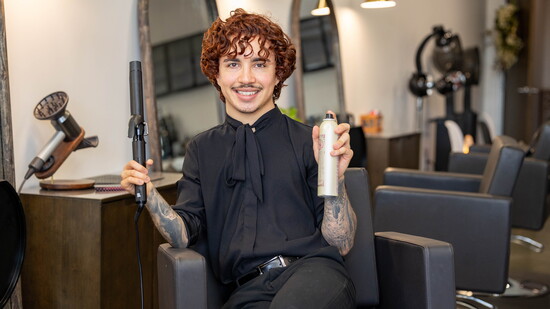
Curl It Right
- Section the hair into three parts: one above the crown, one from ear to ear, and the remaining hair as the third section. The sections don't need to be perfect. Wood says the less precise, the better, so you avoid visible lines in the finished style.
- Spray each section with a light-hold hairspray and heat protectant. This helps the style last longer and keeps frizz at bay.
- Divide each section into three subsections, then swipe the curling iron through the hair to preheat it. Hold the iron straight up, with the barrel's end at the top of your head and the clamp facing down. To curl away from your face, the clamp should face the mirror; to curl toward your face, it should face away from the mirror.
- Starting at the upper-mid portion of the subsection, feed the hair into the iron by clicking back, leaving the ends out of the iron for a more modern finish. Hold for a few seconds, until hot to the touch, then twist the hair on the way out so it releases as a tight curl. Repeat with the next subsection, curling toward the face this time, and alternate direction with each following subsection to build volume. Repeat the entire process on the second and third sections.
- Let the curls cool for five minutes, then mist hairspray in light bursts about a foot from the hair. Flip your head over and use a wide-tooth comb to loosen the curls from nape to front, spraying more hairspray as needed. Lift your head back up (don't flip it) and use your hands to settle the hair into place before running the wide-tooth comb through the surface only, to smooth without disturbing the curl pattern underneath.
Half-Up, Handled
- Gather the top section of hair with your fingers, leaving a few pieces loose around the ears for a softer, more interesting front.
- Secure with a standard hair tie, looping it through once, then loop it a second time, pulling the hair only partway through to form a small bun.
- Take the tail from the left side and pull the excess hair from bottom to top, forming a second small bun.
- Wrap the elastic around both buns to secure them together, then fan out the top and bottom sections for volume. The goal, according to Wood, is "cute and messy."
- Once you're happy with the shape, secure it with bobby pins and finish with texturizing spray to hold the look.
Want to see the technique in action? Follow along with Wood's video tutorial on Instagram at @mateowiththecurls.